Wild Garlic Champ Bread
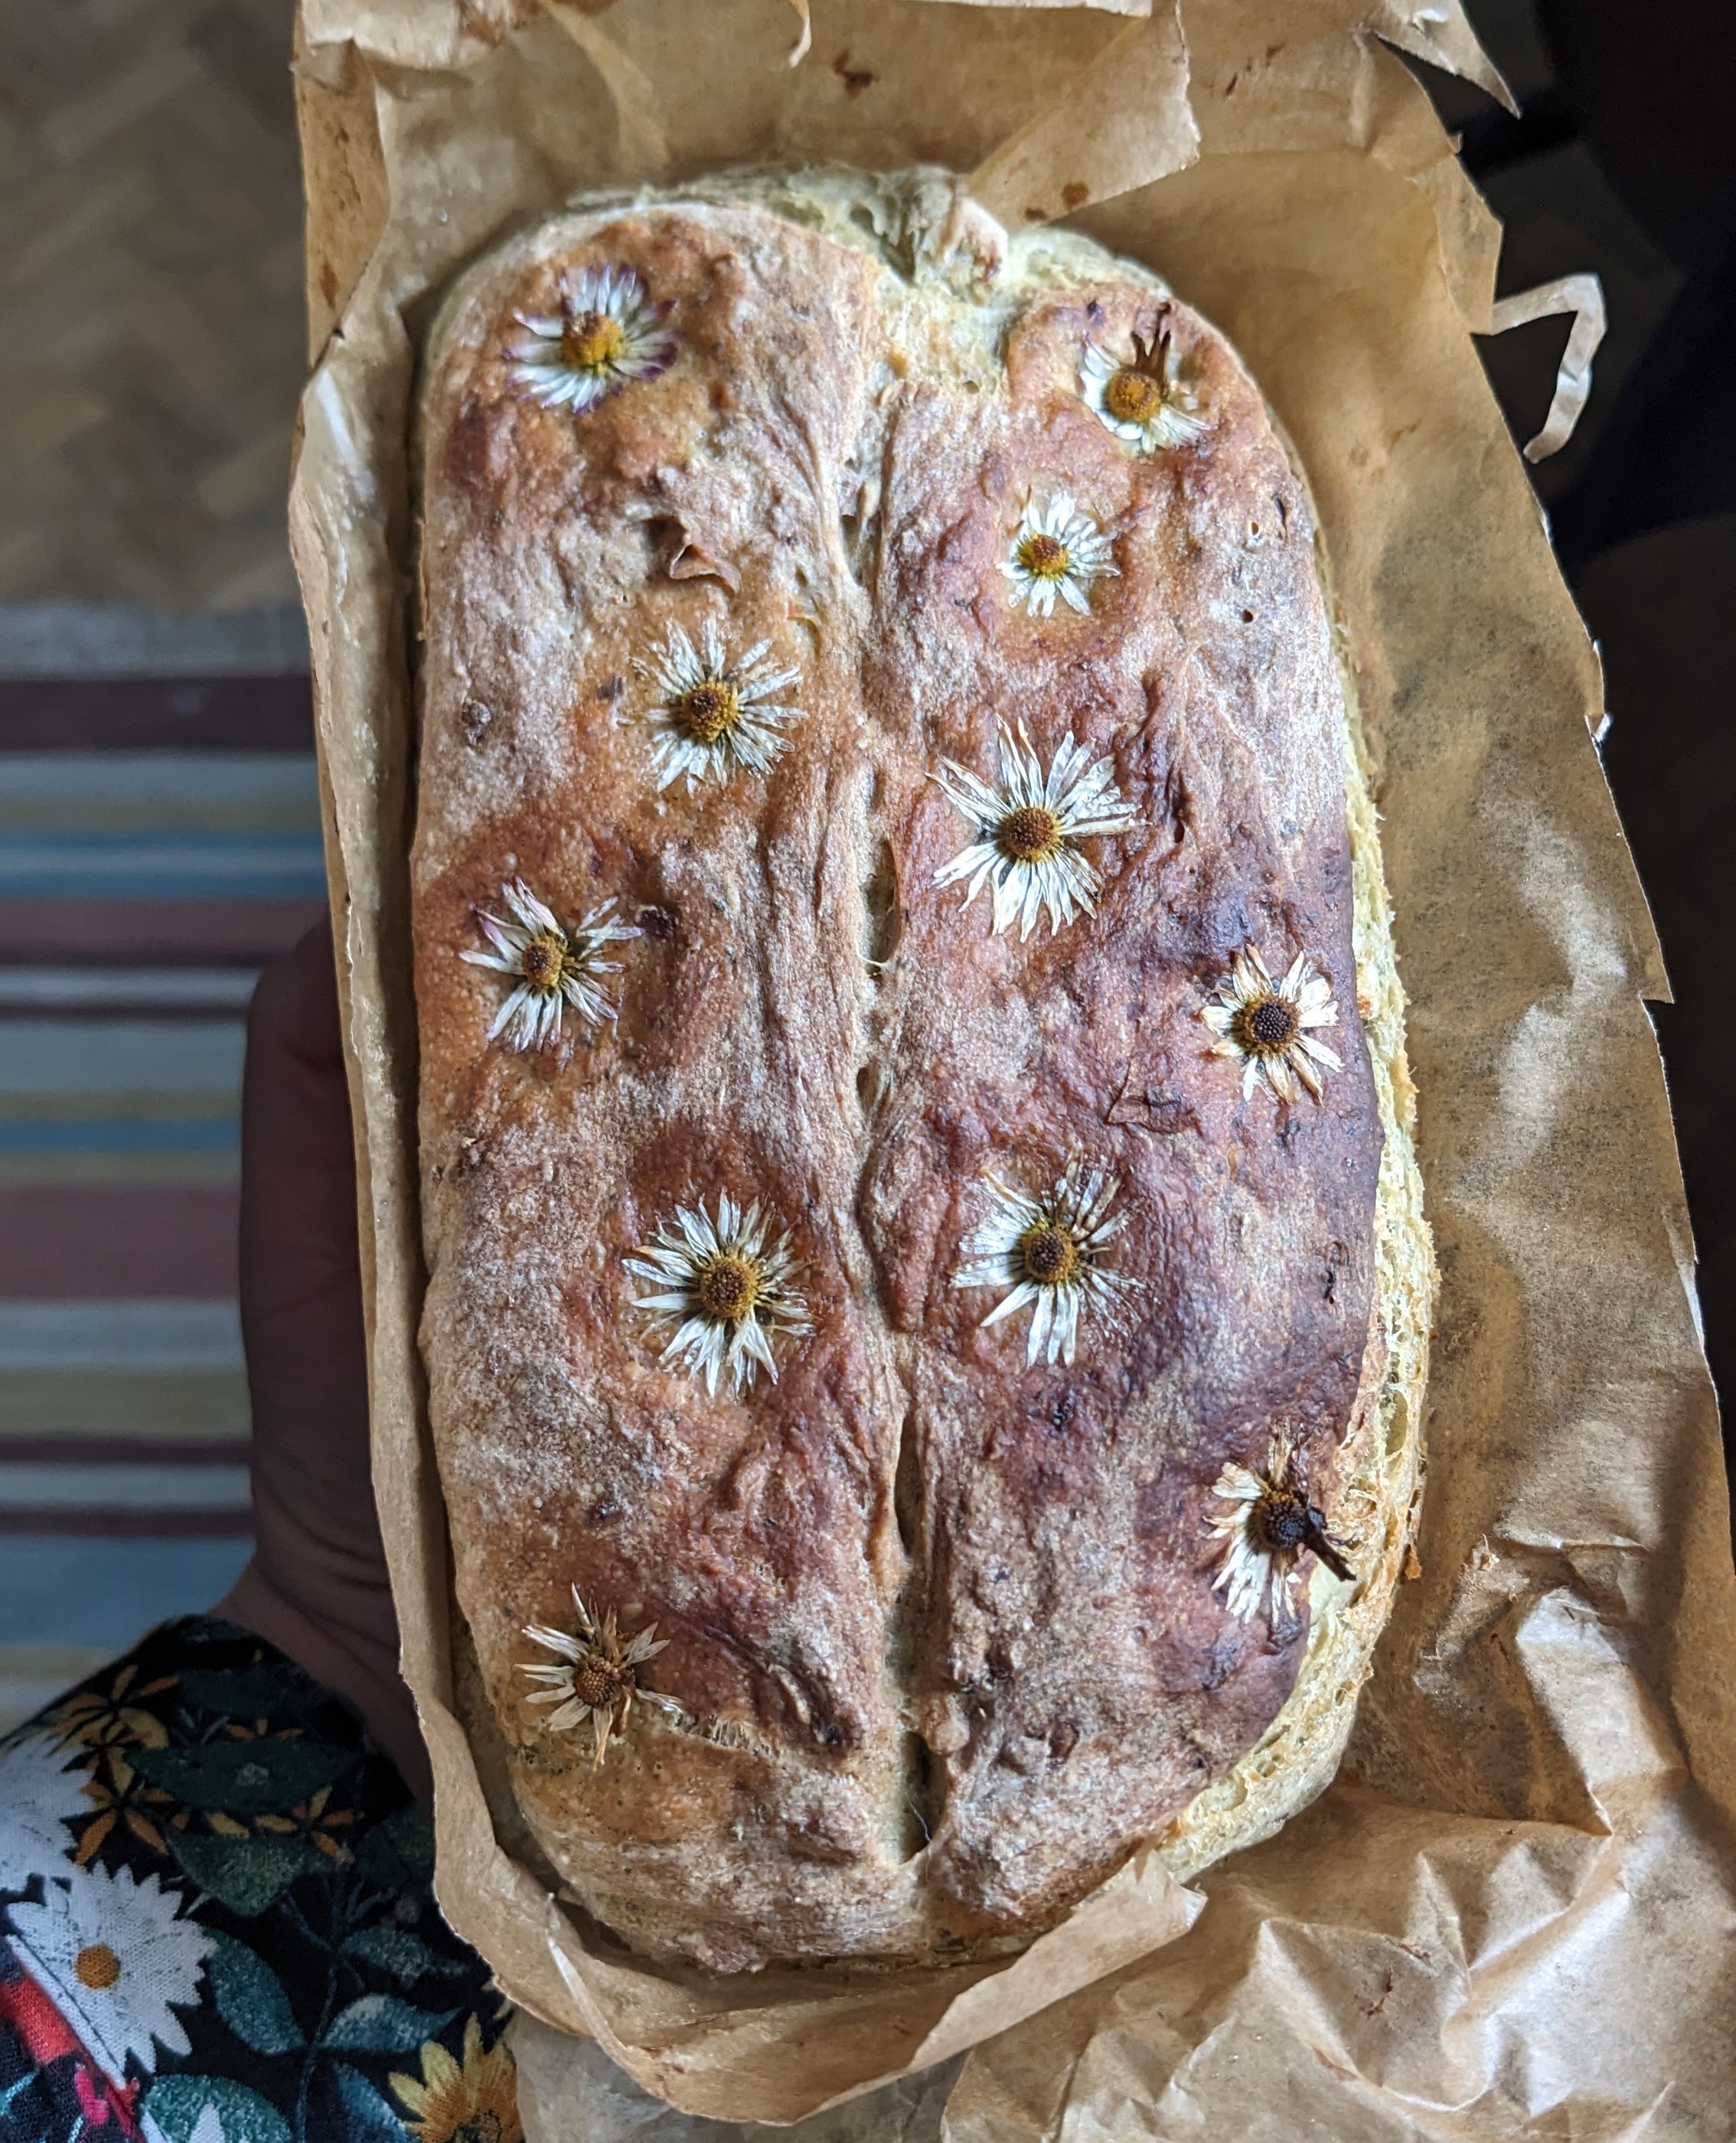
This is one of my favourite recipes that I developed for myself over the past number of years. I made it for the first time in 2022 and must have baked it about fifty loaves since then. It is so simple, requires no kneading and doesn’t need any baking expertise to get a perfect loaf. It is also very adaptable so if you don’t have wild garlic you can add nettles, cabbage, caramelised onion, mixed seeds, a little bit of cheese or even just some buttered mash can go in place of the champ. The potatoes give this loaf so much lovely texture and moisture so it lasts well and toasts beautifully too after a few days. Daisies are optional (but very beautiful).
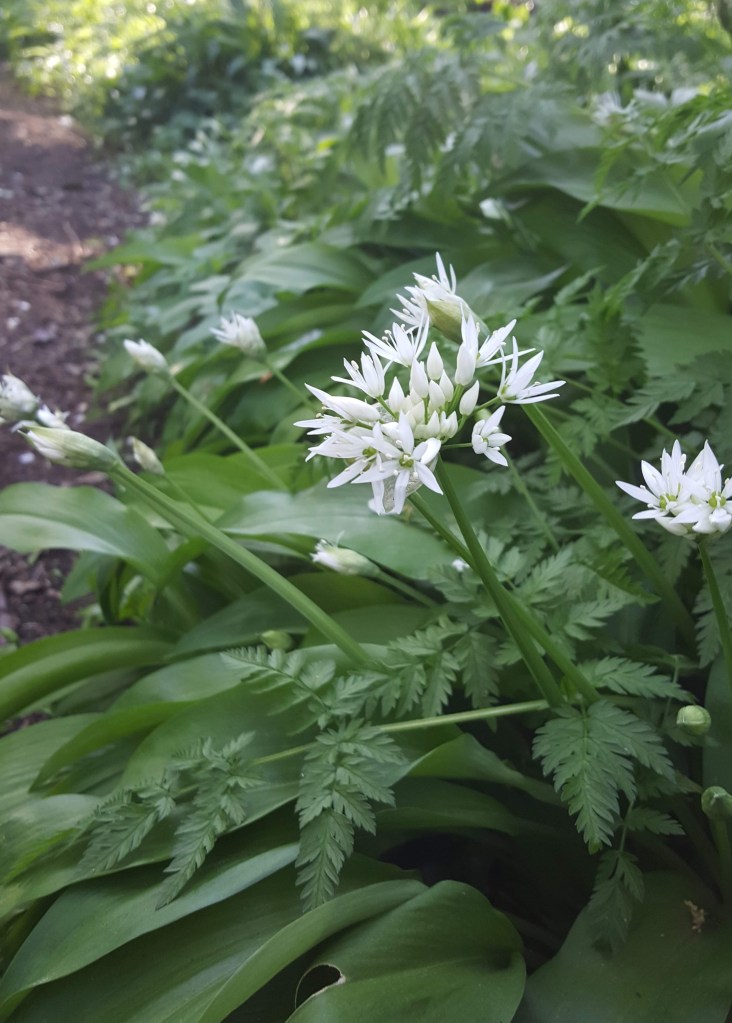
Start by choosing your greens! It’s almost may so the wild garlic is getting a little more mature and not as tender so it’s perfect for cooking into things now. I also love to add the flowers. I try to leave as many flowers behind as I can so only take a few handfuls for any recipe. If you have never picked wild garlic before then check out my previous post for guidance. I love the garlic in this but any and all wild greens could go into the bread.
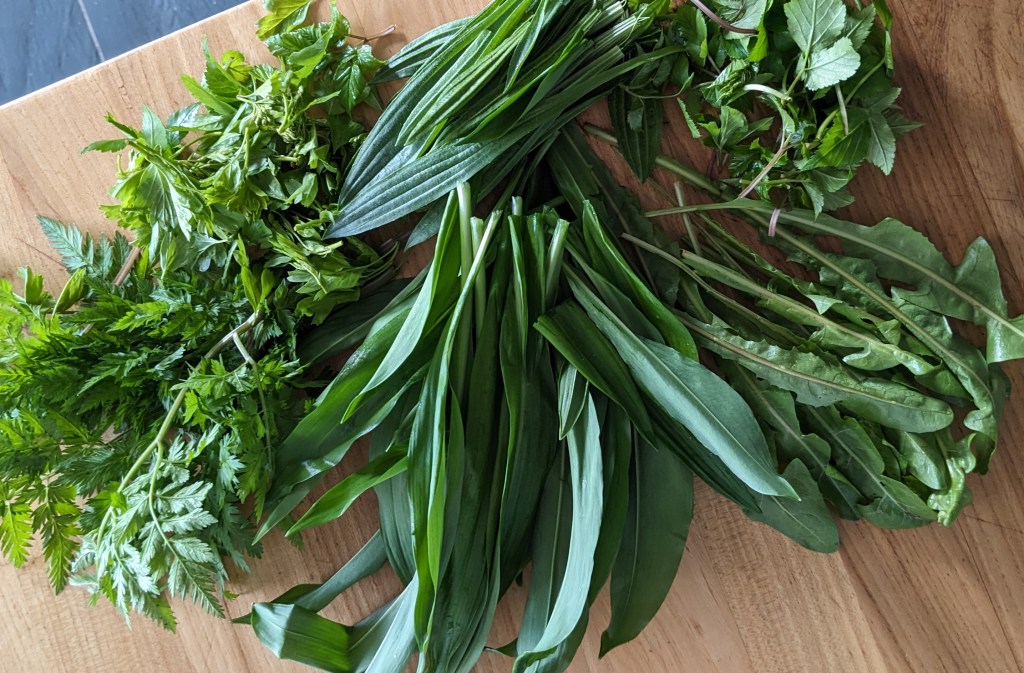
Combine all for a spring tonic in a loaf!
Ingredients
– Makes two 2lb tin loaves – if you don’t have a loaf tin this can be made very happily in a couple of cake tins or small roasting tins. I wouldn’t recommend this as a free form loaf as the dough is quite wet and will spread too much. A muffin tin would work in a pinch (and would probably be quite cute!).
– 400g left over champ made with a few handfuls of wild garlic, other wild greens or scallions – this should be cold.
– 10g Instant yeast
– 500g Warm water
– 800g Strong bread flour. Feel free to use a mix of wholemeal flour or even malted strong flour.
– 8g Salt
– Oil for greasing
Instructions
1. Line two loaf tins with parchment and brush them with oil to ensure no sticking.
2. Combine the yeast and warm water and stir. Set aside.
3. Combine the salt with the flour in a large bowl. Add the cold champ and mix really well. Then, add the water and yeast mixture and stir thoroughly until there are no dry spots or lumps. This dough will be very wet and that is ok!
4. Cover with a damp tea towel and allow to rise for one hour.
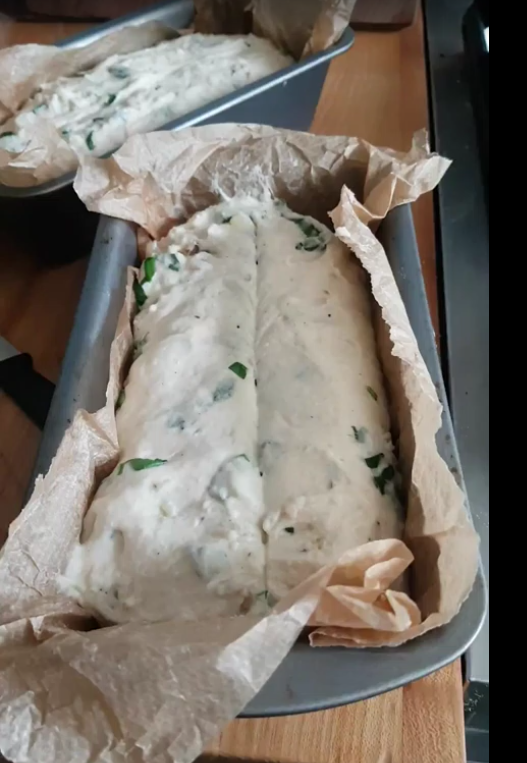
5. Turn your oven on to 220 and allow to come up to heat. Divide the dough between your two prepared loaf tins. Cover again (I use an oiled shower cap or plastic bag at this point) and allow to puff up for about 40 minutes. The top of the loaf should almost come to the top of the tin.
6. Take a very sharp knife or lame and score the loaf down the centre. This is optional but will help the loaf grow evenly in the oven. If desired, flowers can be pressed into the top. I love daisies or dandelions for this one!
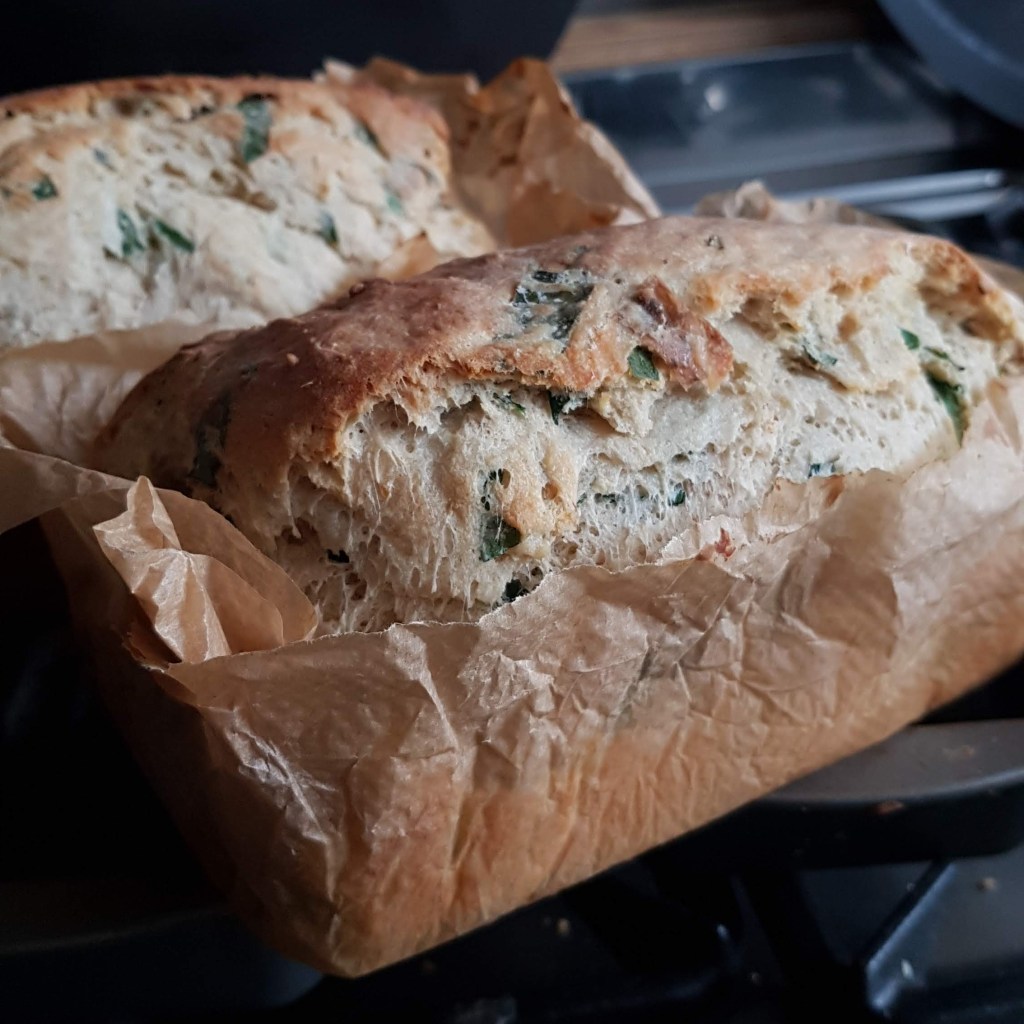
6. Transfer the loaves to the hot oven and place together on the same shelf if possible. Bake for 10 minutes to get some good colour on the outside and then turn the heat down to 180 to bake for a further 30-35 minutes. I like to check if bread is done by taking an internal temperature. It should read 95 degrees celsius if it is ready. Remove from the tins as soon as it is cool to do so and let the bread completely cool before slicing. This bread will still be good for a number of days but will also freeze nicely in slices too to pop straight into the toaster.

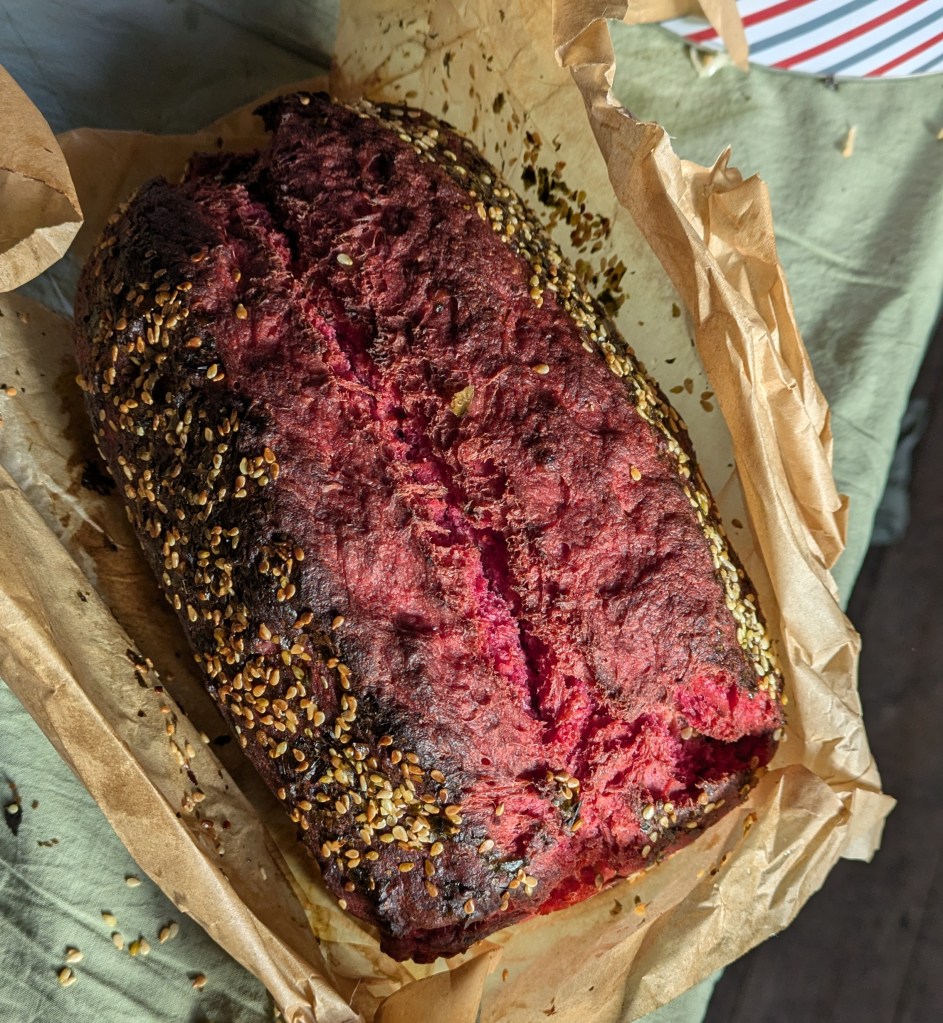
Lastly! This can be made with other ingredients too – I have had success using mashed carrot or even mashed beetroot and it always comes out deliciously so if you have a random leftover vegetable I recommend trying this out too. This loaf was made with beetroot and dock leaf.